pfSense Basic (LAB2)
This tutorial is part of "The LAB": http://itfanatic.com/?q=node/73 project.
pfSense is a free, open source customized distribution of FreeBSD tailored for use as a firewall and router. I will use this tool to separate my internal network from the internet, and specify custom access rules for different computers or group of computers. This tutorial will cover the basic install of pfSense.
Requirements
Virtual machine with the following settings:
- Choose FreeBSD when creating VM
- 128 MB RAM
- 1 GB HDD
- 3 NIC cards (WAN, LAN, DMZ)
Installer Live CD. Make sure you download the files like "pfSense-LiveCD-2.0.2-RELEASE-amd64.iso.gz", because the ".img" files are complete disk files that have to be converted to VDI for example. The ISOs are bootable and are installers:
- http://www.pfsense.org/
Installing pfSense
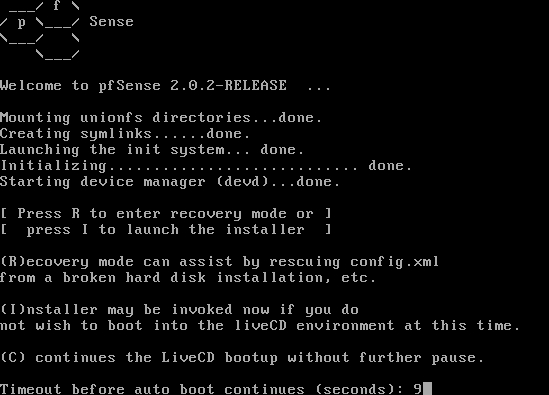
Boot from the live CD and type "I" when it asks for the new install mode.

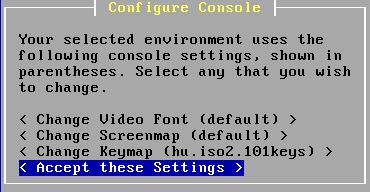
On the following screen you can choose keyboard layout, video settings, I left everything on default except the keymap.
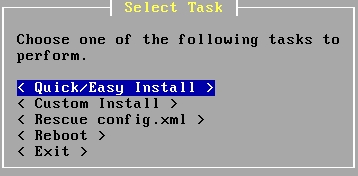
I prefer choosing "Quick/Easy Install" because I will use the WebGUI for detailed configuration.
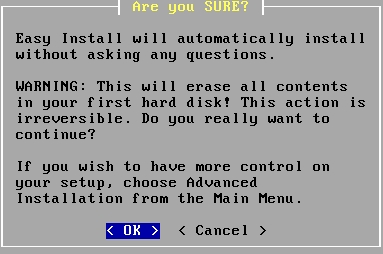
Accept the install by selecting "OK".
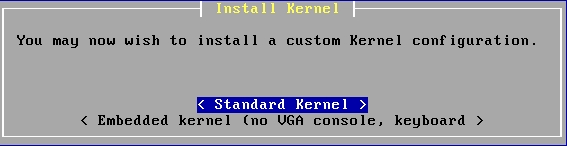
Select your kernel type. This machine is a minimal config for me, so I chose Uniprocessor. In most cases this should be enough especially for a testlab.
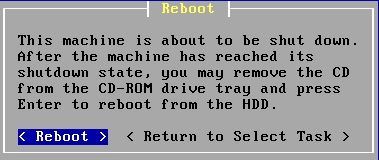
After the installer finished you have to reboot the computer.
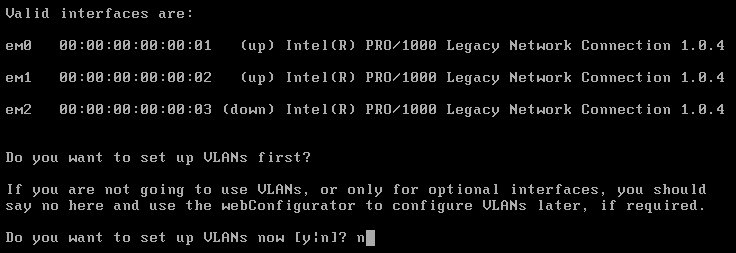
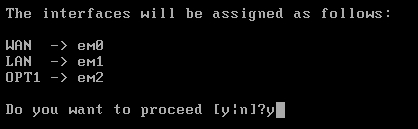
The OS automatically detects network interfaces and you have to assign them to WAN, LAN, OPT1. You see that the interfaces in my case are em0, em1 and em2. I said "no" to VLAN setup, because it is easier to setup in the GUI. The next question is the WAN interface, which will be em0 now.
The WAN interface will be em0.
The LAN interface will be em1.
The OPT1 interface will be em2.
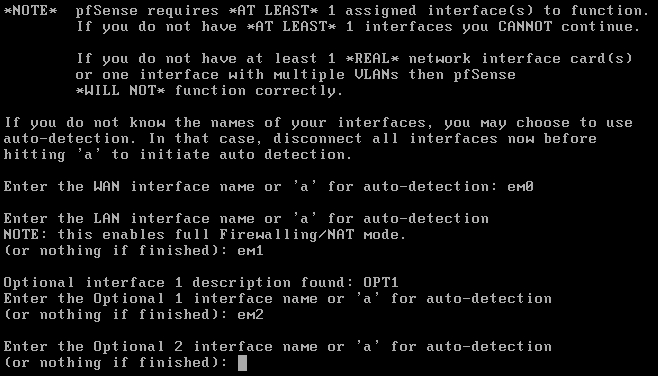
For OPT2 there is nothing to use, I just hit enter.
![]()
A second check on my settings, accept by typing "y".
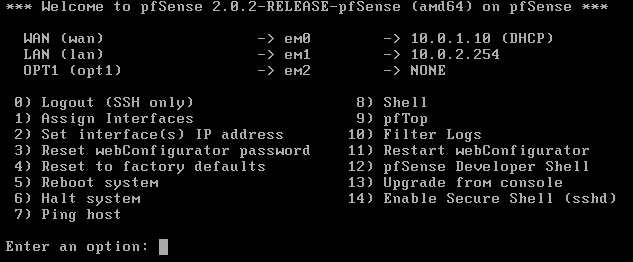
The system is ready. You can see, that the WAN IP is configured via DHCP and got the correct IP, LAN interface also got something, which may has to be changed. This is how to do it. Choose "2" from the menu to set the correct address.
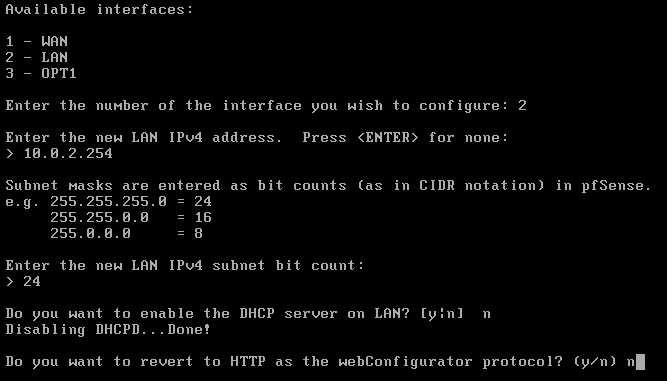
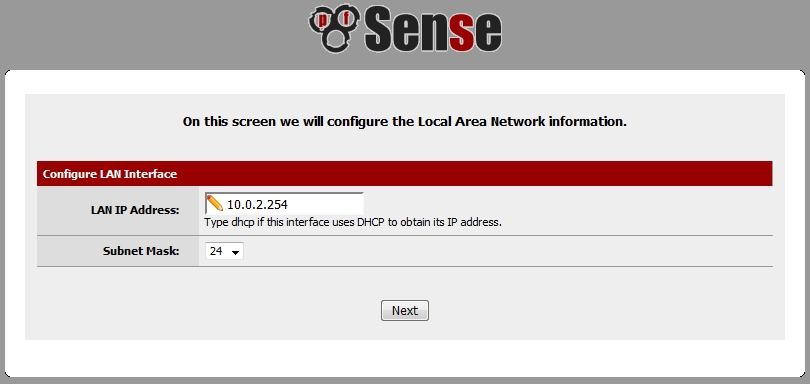
- Set the IP to the static IP you want. In my LAB environment it will be "10.0.2.254".
- Netmask should be 24 for now.
- In my LAN I already have a DHCP server on my DC, so I choose "n" for this question, because I don't want this pfSense to be my DHCP server.
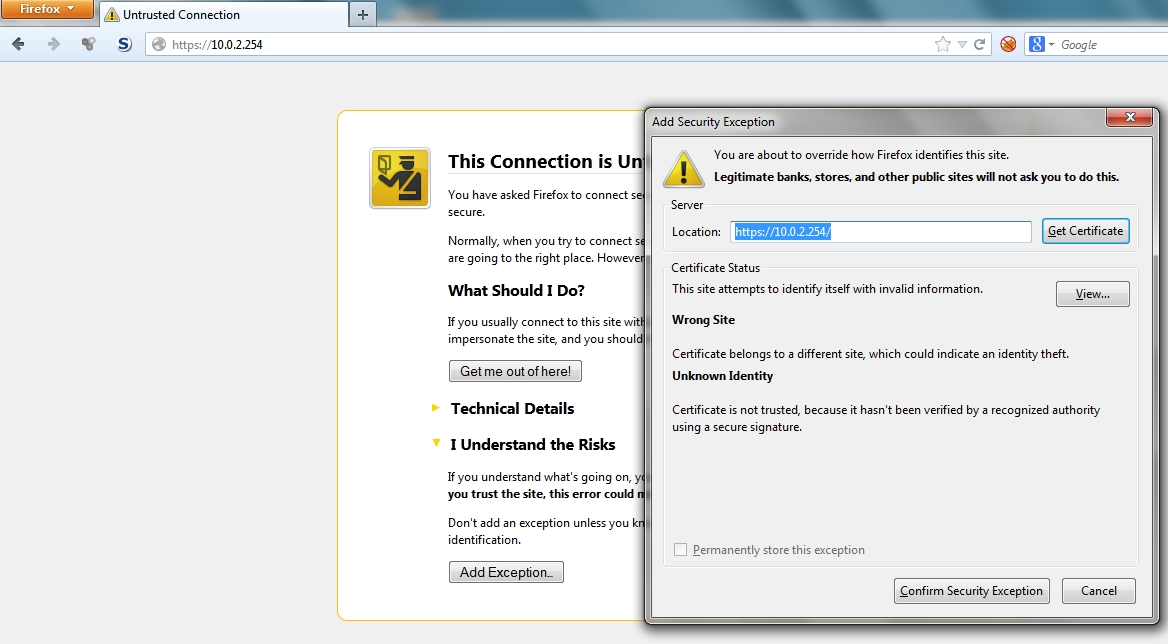
Check that the settings are correct, and browse the IP of the pfSense machine from another machine on the LAN. It'll use a self signed certificate, so you'll have to accept it in firefox (as well as in other browsers...).
You have to type in the default username/password: admin/pfsense:
Select the wizard from the drop down menu on the top to configure pfSense and go through it.
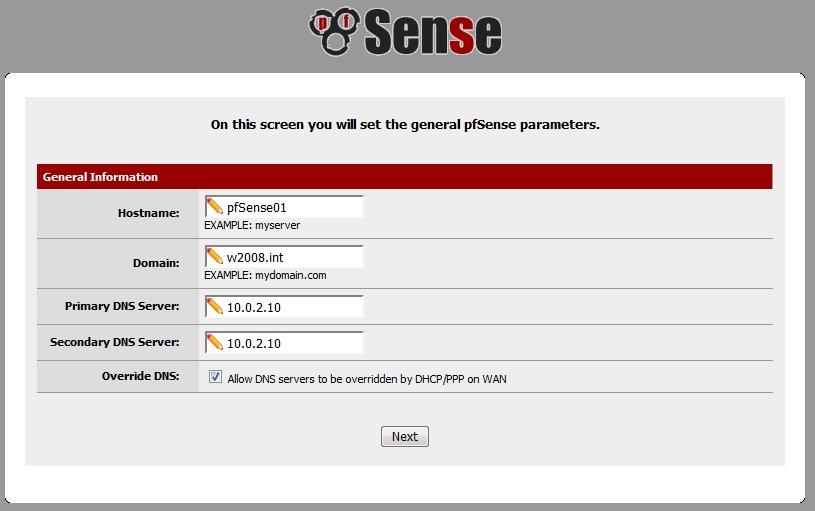
The hostname could be anything, my will be "w2008.int" with the domain controller on "10.0.2.10" which will be also a DNS server.
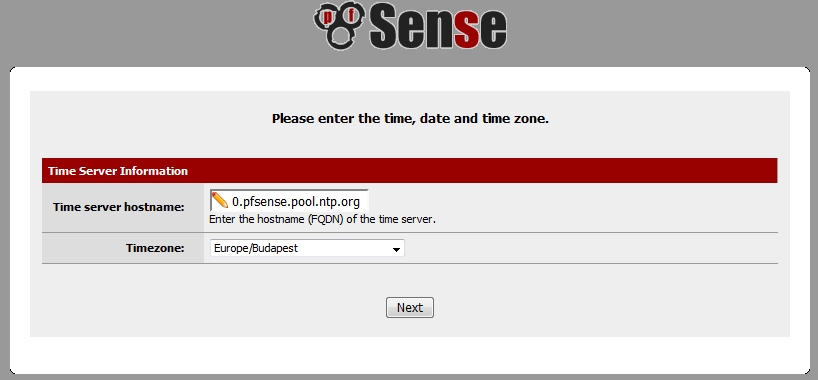
Set the NTP preferences as you prefer, I left the server on the default. Set the timesona as well.
The pfSense will be a firewall and a gateway to the internet, so it should have a fixed IP. It could be on a reserved DHCP address but what if the DHCP server is not available? No firewall and no connection to the internet? Thats not too good. So choose "Static" type and set the IP address of the WAN. The gateway should be the next gateway in your network. In my case it is a VMware environment, so the IP address of the WAN interface is "10.0.1.254/24" and the gateway is the VMware gateway which is "10.0.1.2". VMware usually use the x.x.x.2 as a gateway address for a network.
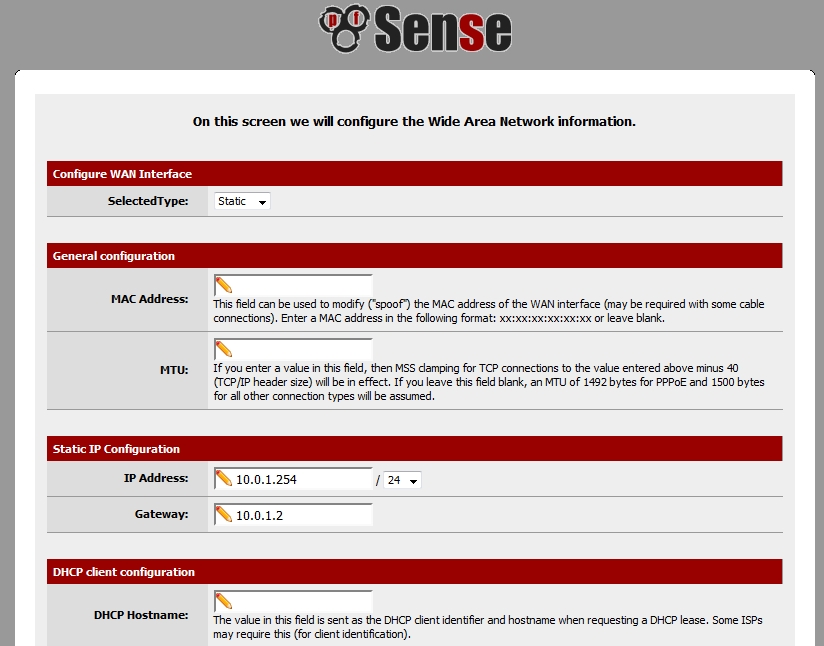
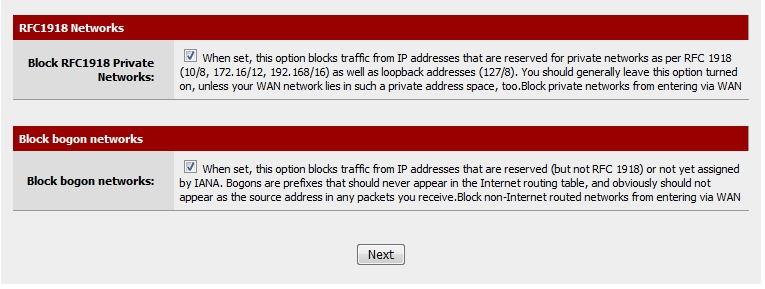
The bottom of the settings page is some security restrictions which you should leave on the defaults.
You can check the LAN settings now. You should see the internal LAN IP you set on the command line earlier.
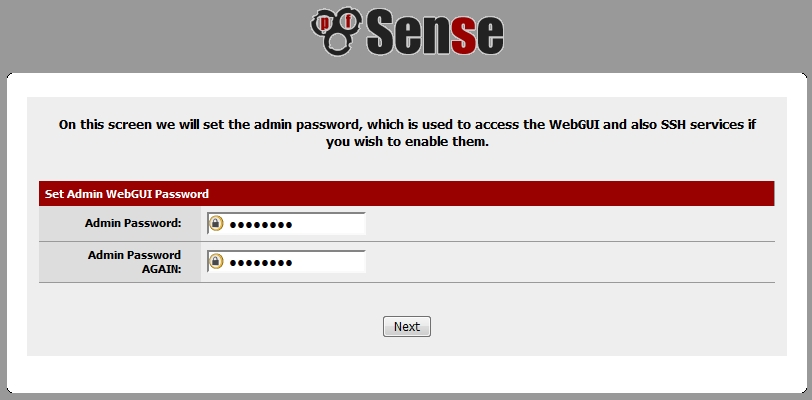
The last step of the config is changing the administrator password.
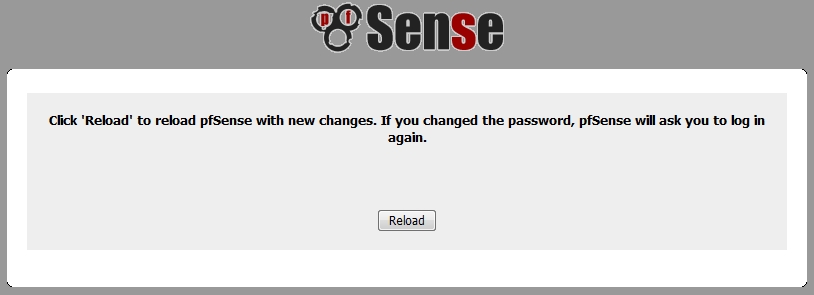
Finish the setup by reloadning the configurations.
Now you are finished with the basic settings.
Configure OPT1 network card
I will enable now a new network card which will be the DMZ LAN or something similar to that concept.
If you have not added it intially to the virtual serve, do so. If yes, skip these bullets:
- Shut down the firewall.
- Insert a new NIC card to your (virtual) machine and boot up the pfSense.
- In the menu select "Interfaces" and click on the "+" sign to add the new card. It is recognised something like "em2". clisk on "Save".
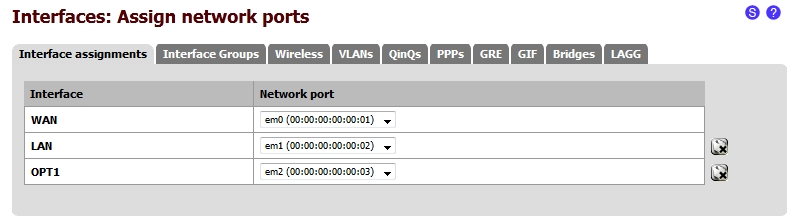
Check interface assignments using the assign menu from the drop down:
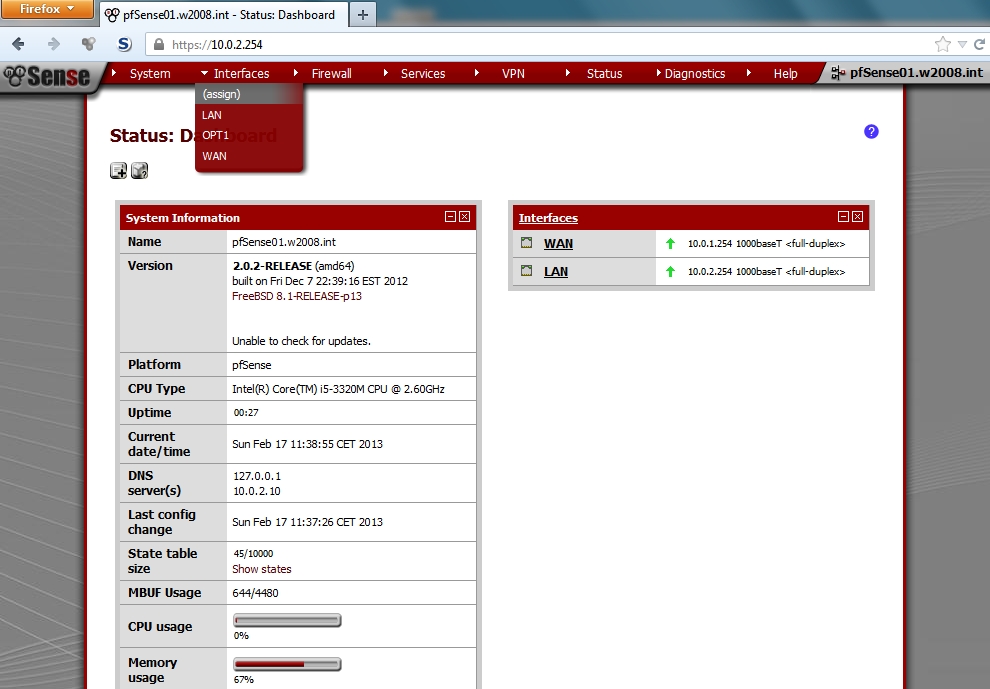
Go to the interfaces menu OPT 1 in the dropdown:
- Choose the new OPT1 interface and configure it.
- Check the "Enable Optional 1 interface".
- The description can be anything.
- The IP will be a static address.
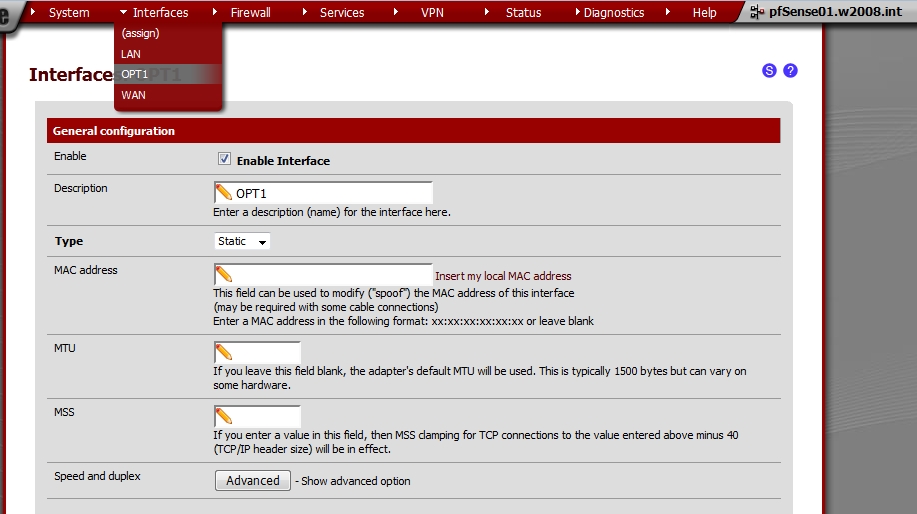
- In my case the DMZ network will be "10.0.3.254/24".
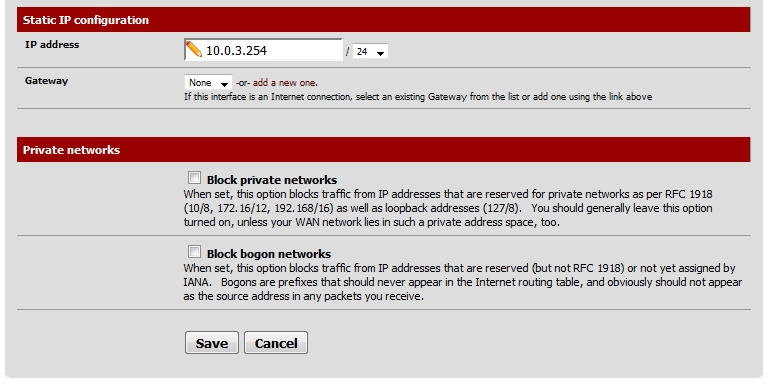
Apply changes after each change:

- I have to add some rules to let this network access the Internet.
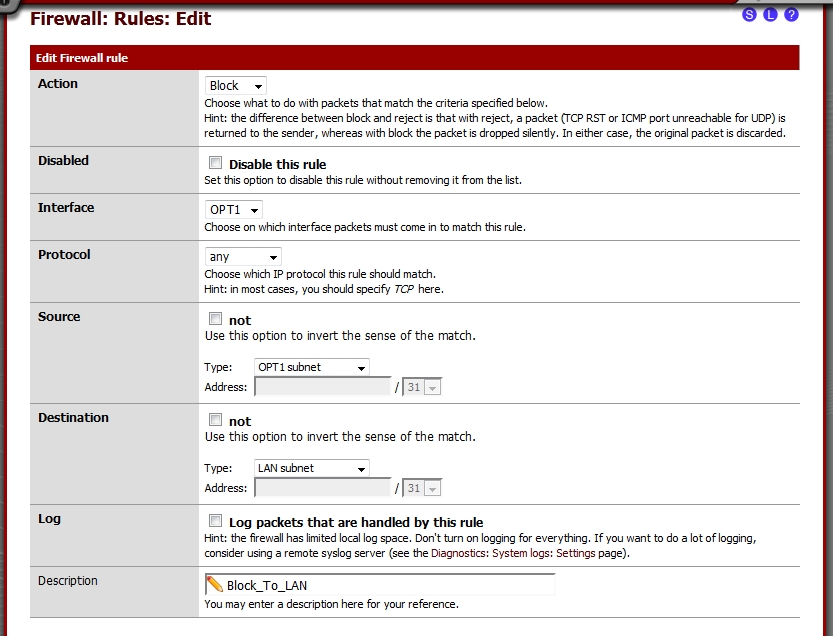
- I block the connections from this network to the LAN segment which intends to be my "LAN" in the LAB environment.
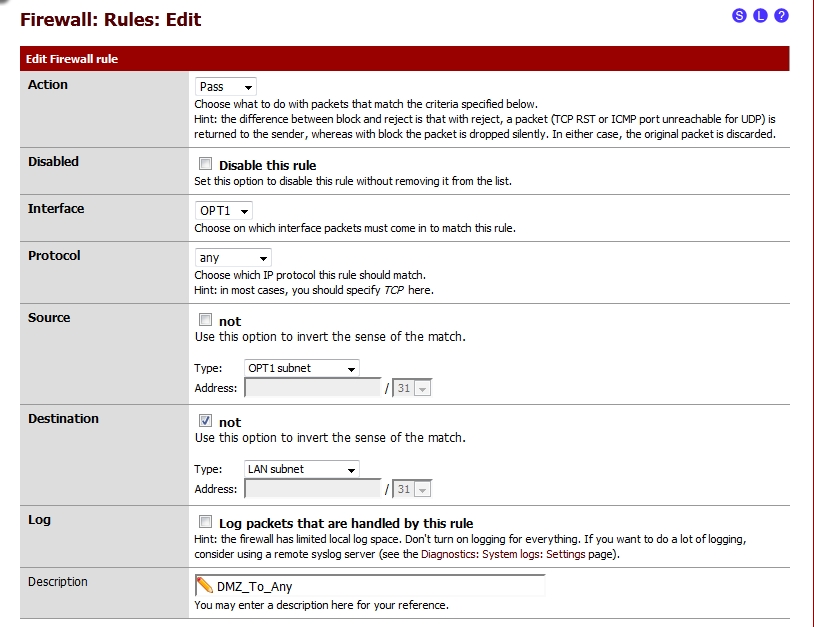
- I let this network to reach the Internet as you can see in the second rule. Actually it is not necessary to define here that the destination cannot be the LAN but I like to see it.
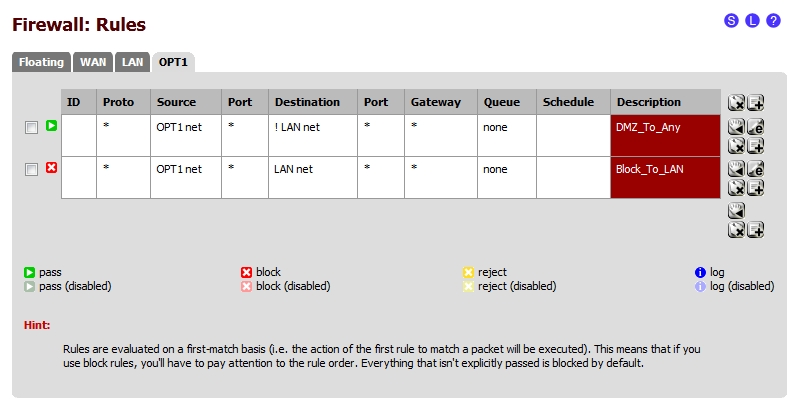
Network configuration is finished.