Oracle Linux Base Install
This tutorial is part of The LAB 2 project.
I assume the followings:
- Domain Controller IP is: 10.0.2.10
- Gateway IP is: 10.0.2.254
- Server name is: W2008DC
- Domain is: W2008.int
- Oracle hostname: oracle.int
- Oracle IP address: 10.0.2.30
- Oracle version: Oracle Linux 6
Installing Oracle Linux 6 base
Select install or upgrade an existing system.

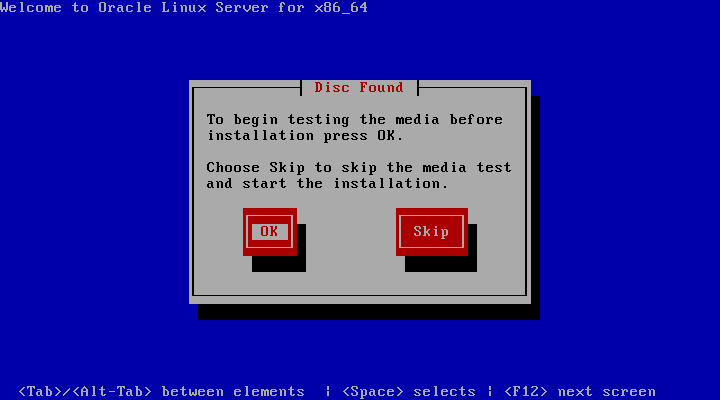
I usually like to test the media, as in some point of time in the past my media was unreadable in the middle of the install, and it took some time until I got another media. So better test in advance
Press next to continue.

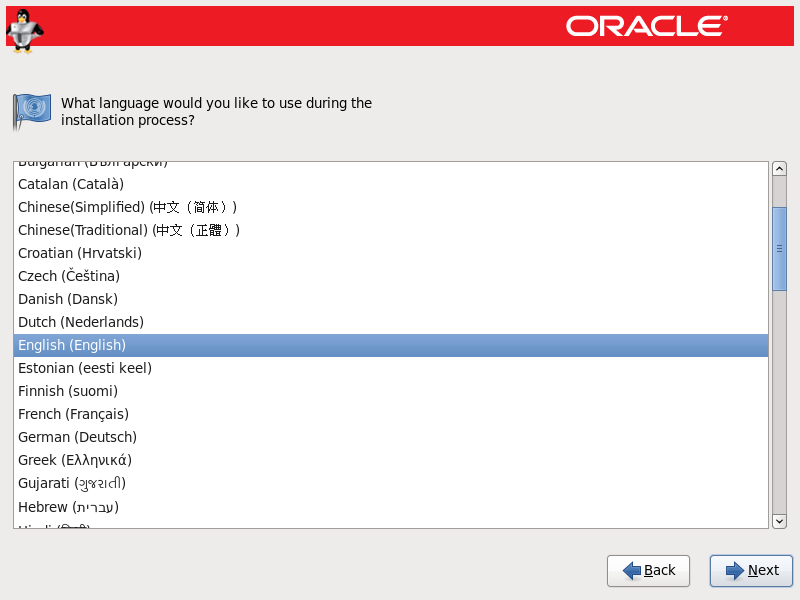
Select the installation process language.
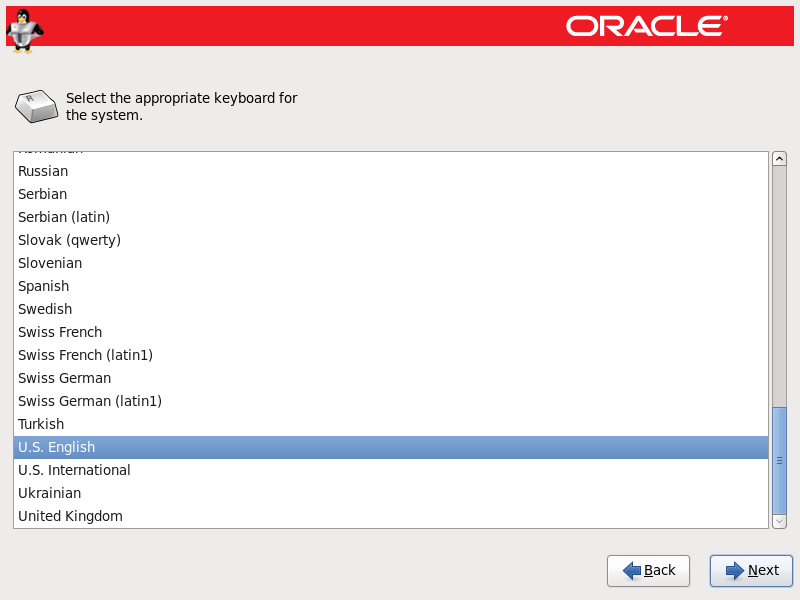
Select the keyboard layout.
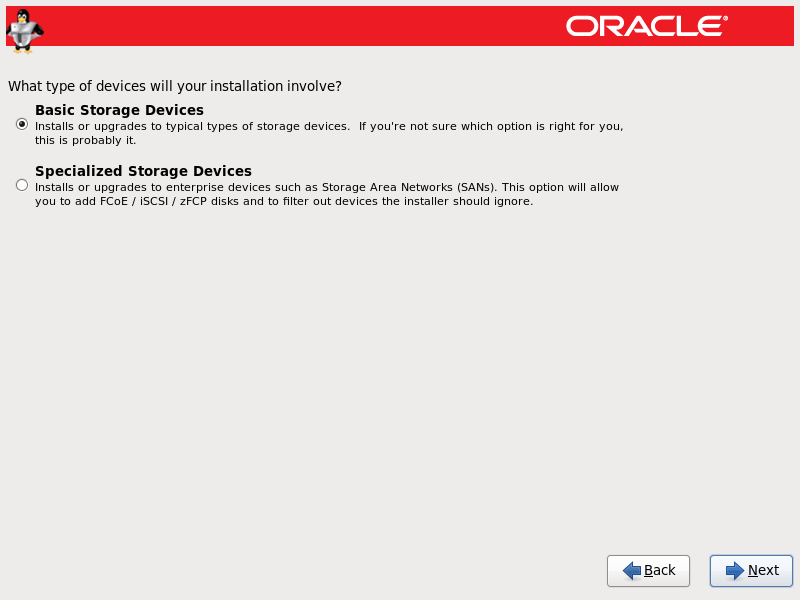
This is a typical storage so choose "Basic Storage Devices".
I'll use all the available space on the disk.
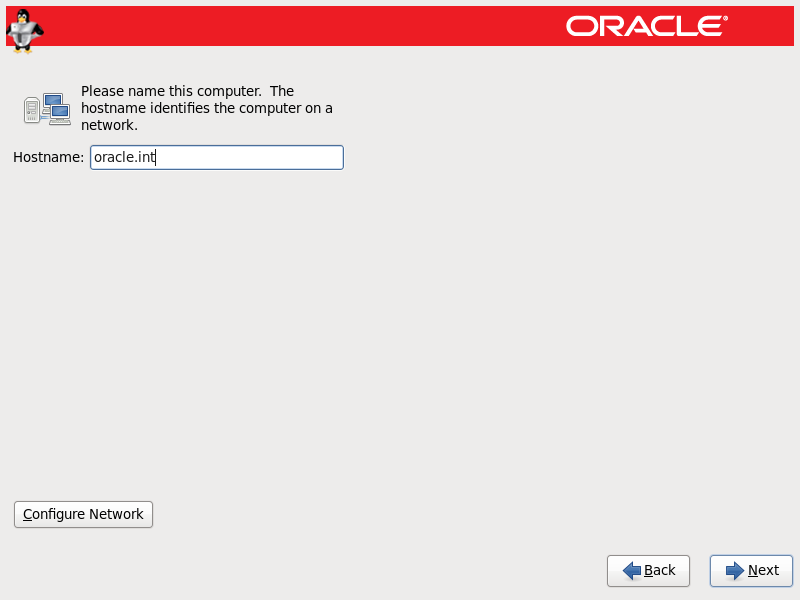
Set the name of the computer: "oracle.int".
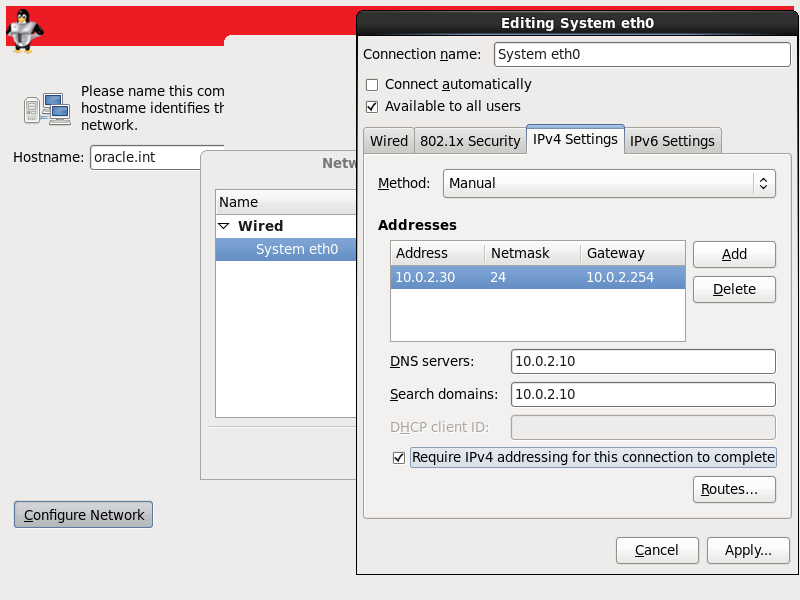
Configure the network card to use the IP: 10.0.2.30, and the DNS will be the Domain Controller: 10.0.2.10.
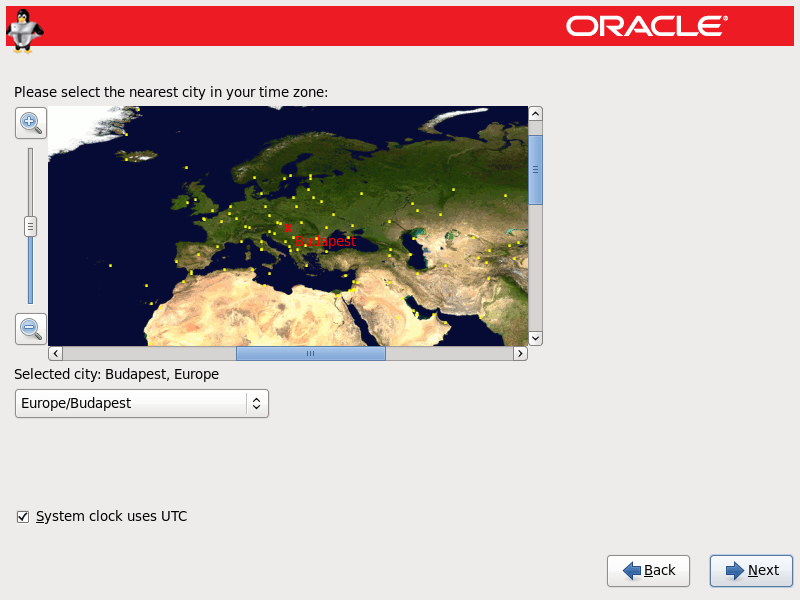
My location is Budapest, this is only important for time-zone setting.
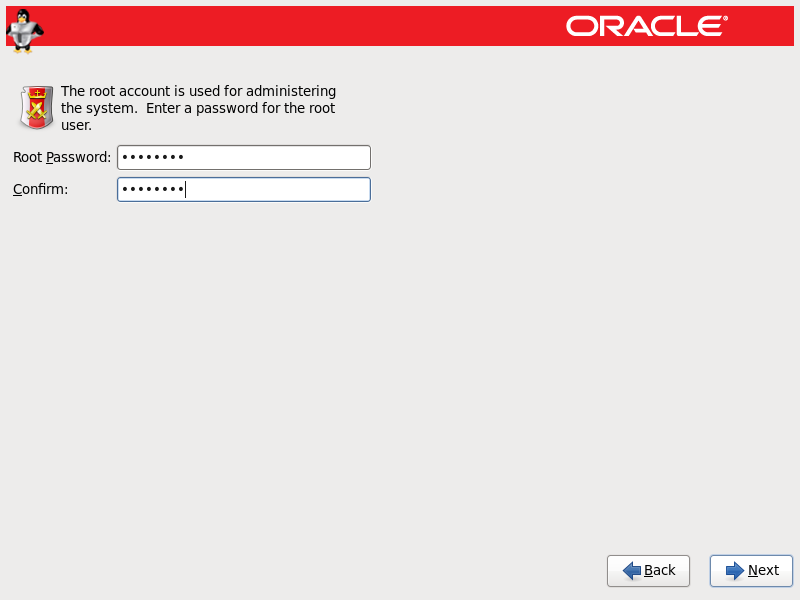
Set the root password. I usually use Asdf1234 for most passwords so I don't forget.
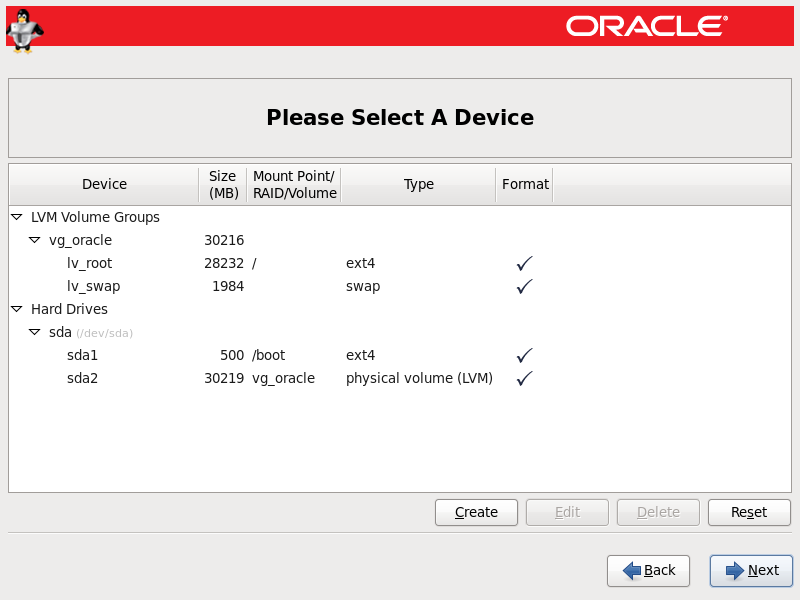
I let the installer use all available space and create the partitions automatically.

Check if the partitioning seems good to you.
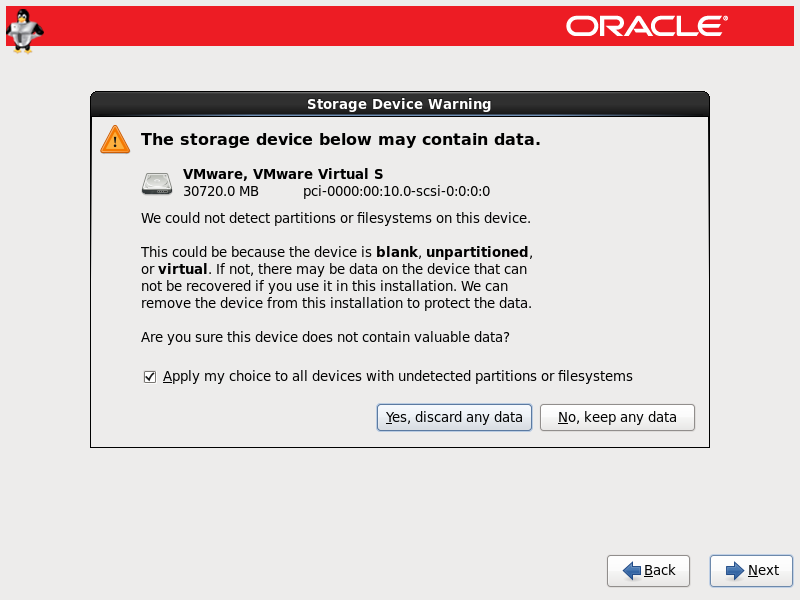
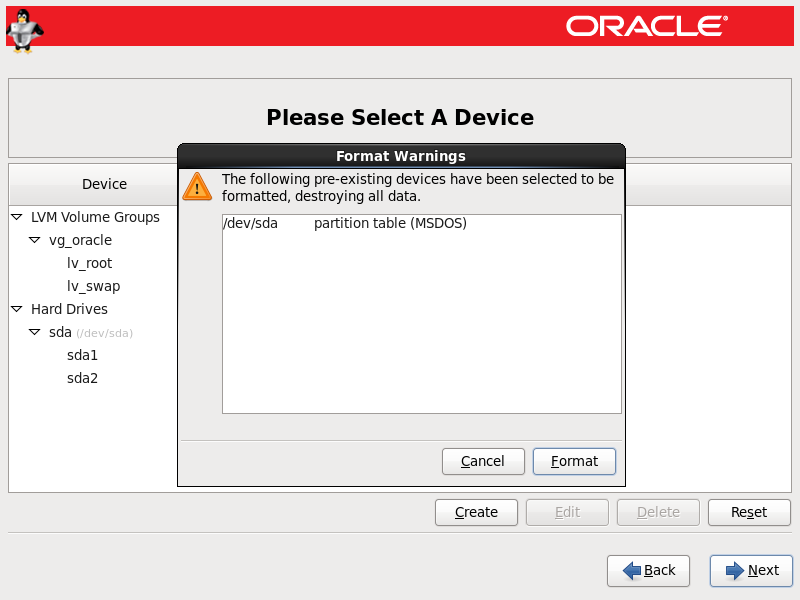
Format the partition by pressing format in the warning window.
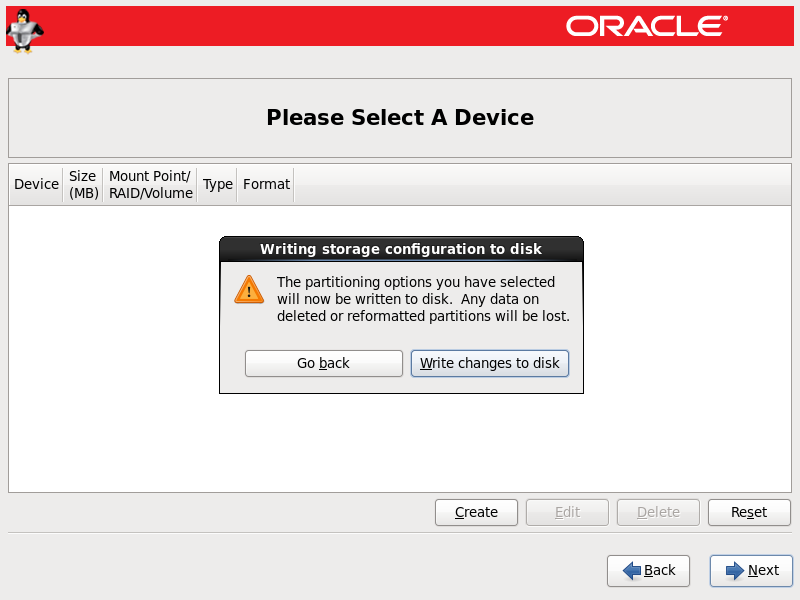
Confirm again, that you want to write changes to the disk.
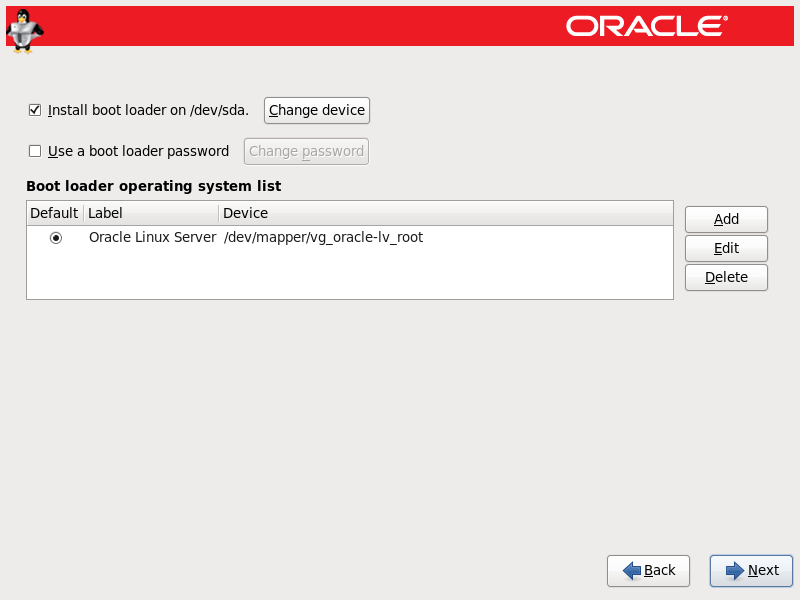
Install boot loader into the default location. Press next.
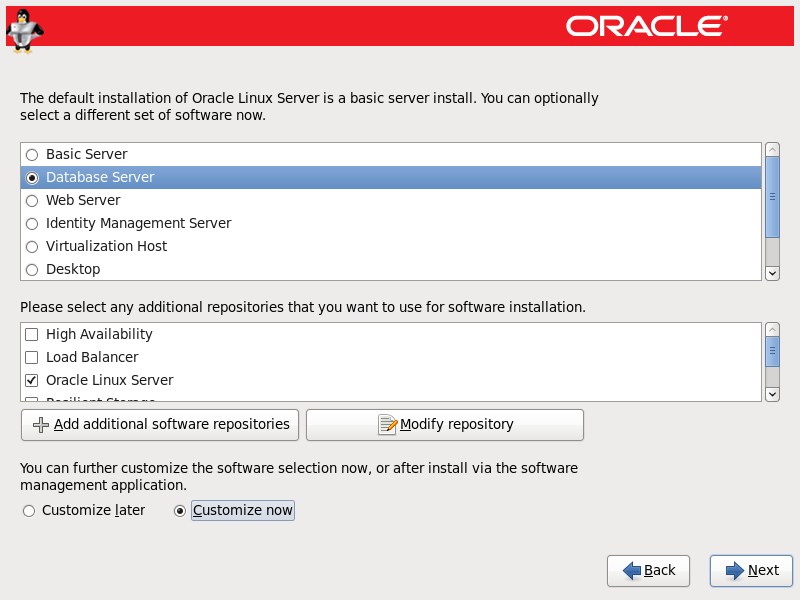
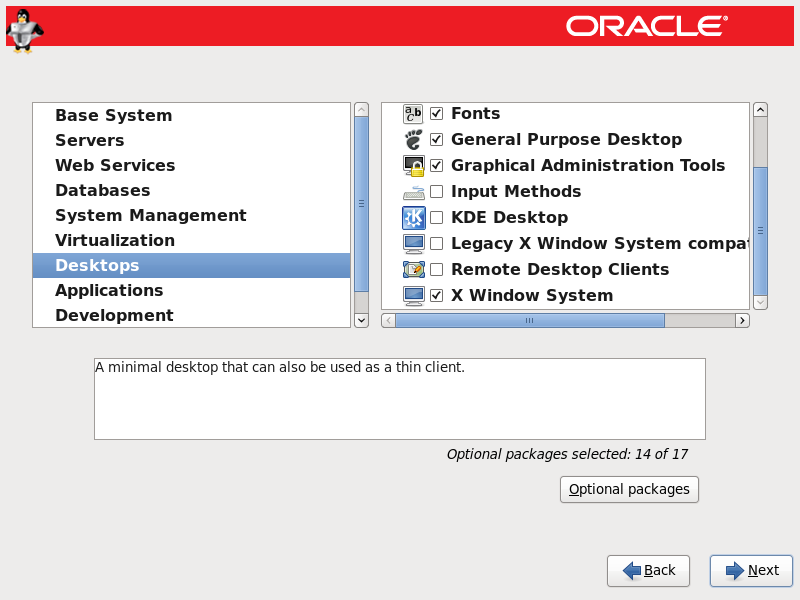
This is going to be a database server, so choose the database option. Also select "Customize now" to add custom packages in order to have a minimal graphical environment.
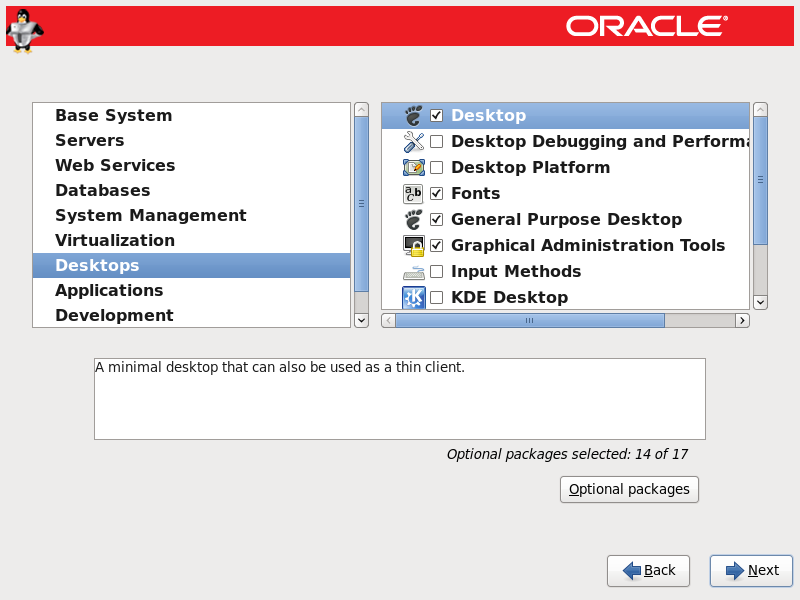
Select the menus under "Desktop" group: Desktop, Fonts, General Purpose Desktop, Graphical Administration Tools, X Windows system.
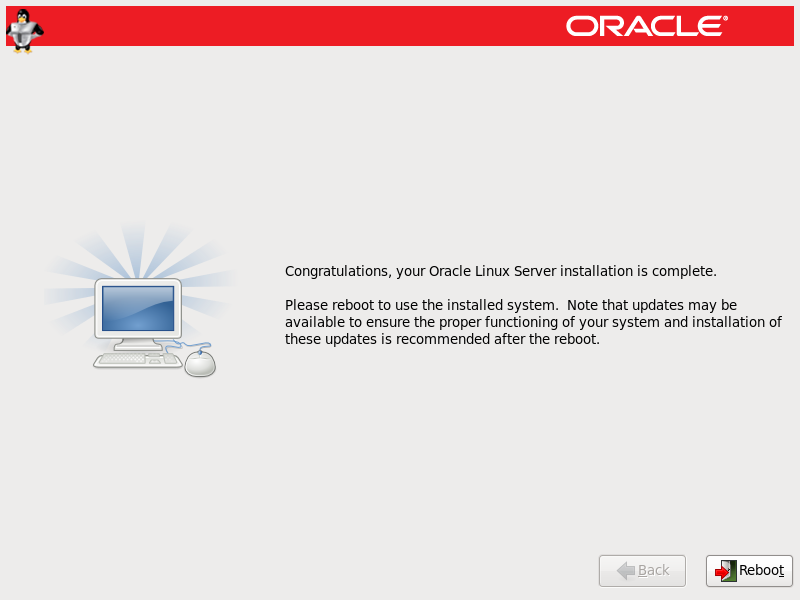
After the installation process press the "Reboot".
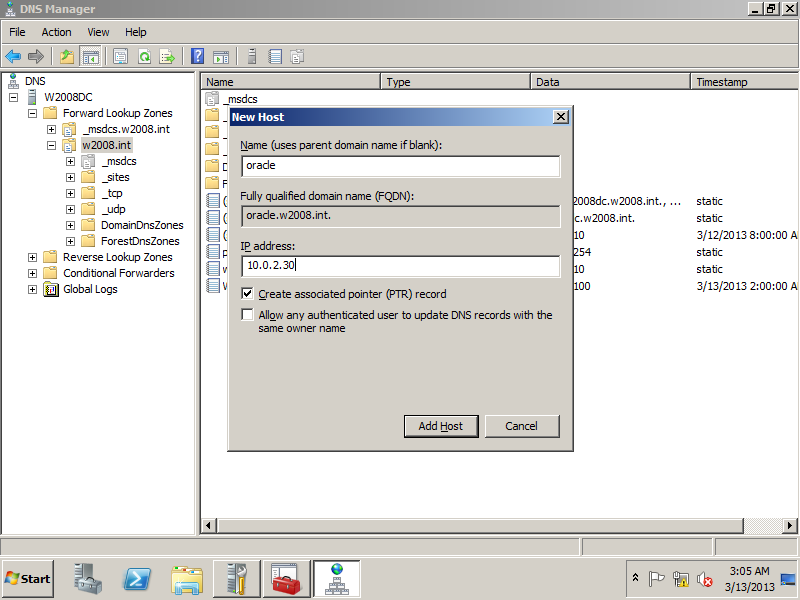
Add the DNS record to the Domain Controller (for the LAB2 setup only)
Start the DNS snap-in in the Domain controller server. set the name: "oracle" and the IP address "10.0.2.30". Select also "Create associated pointer PTR record".
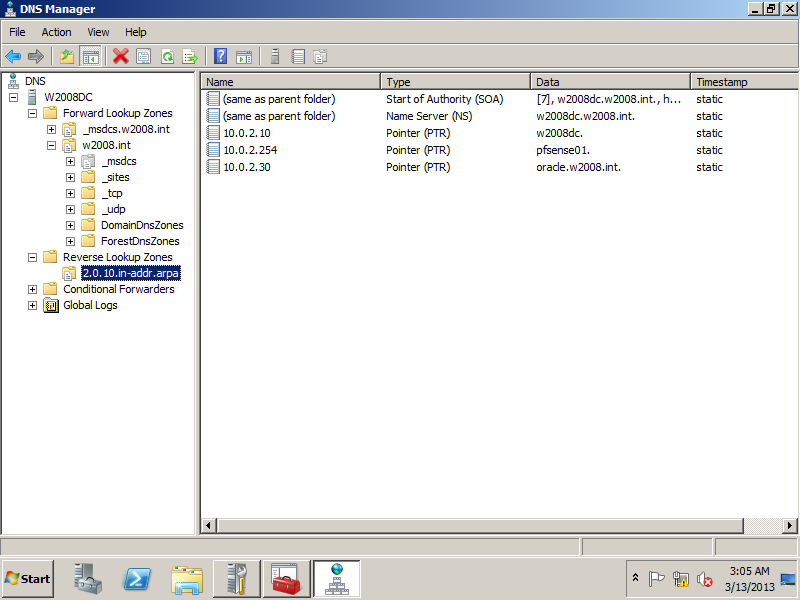
Check if the Reverse lookup zone is set correctly, if not, set it manually.
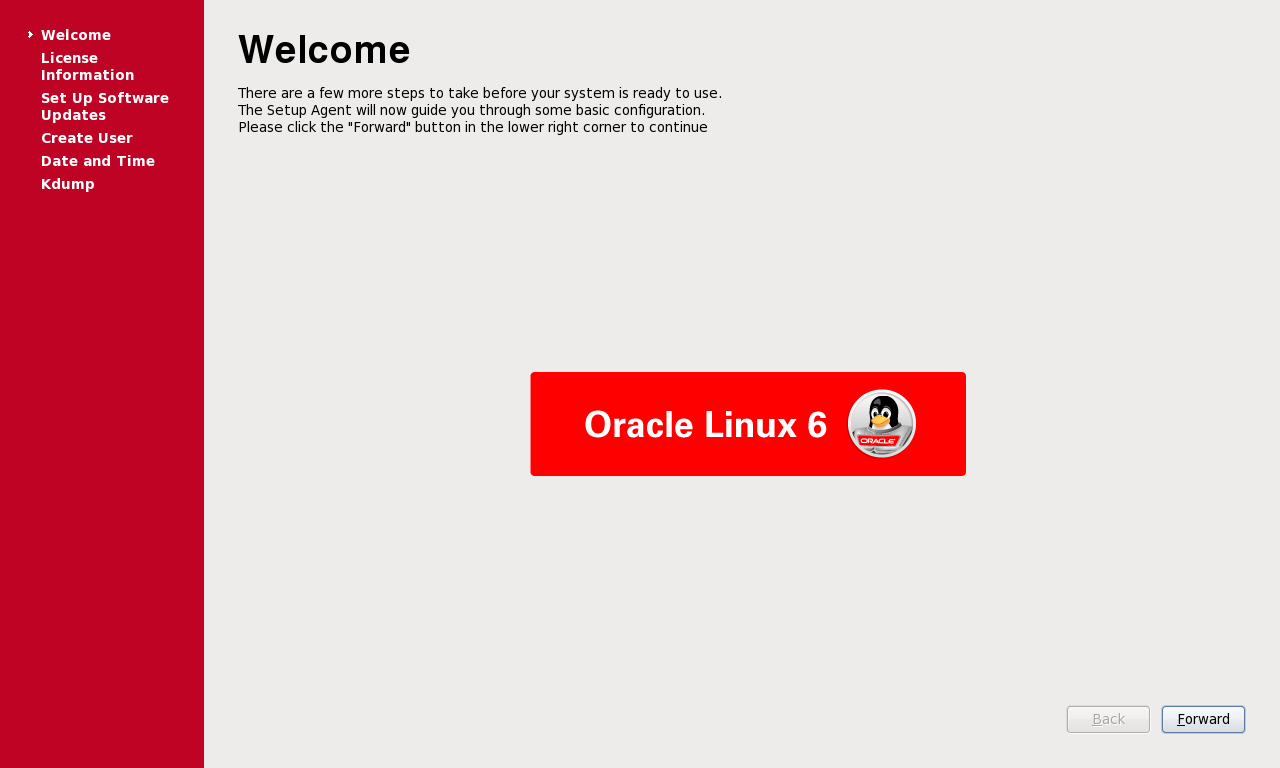
continue the installation of Oracle Linux 6.
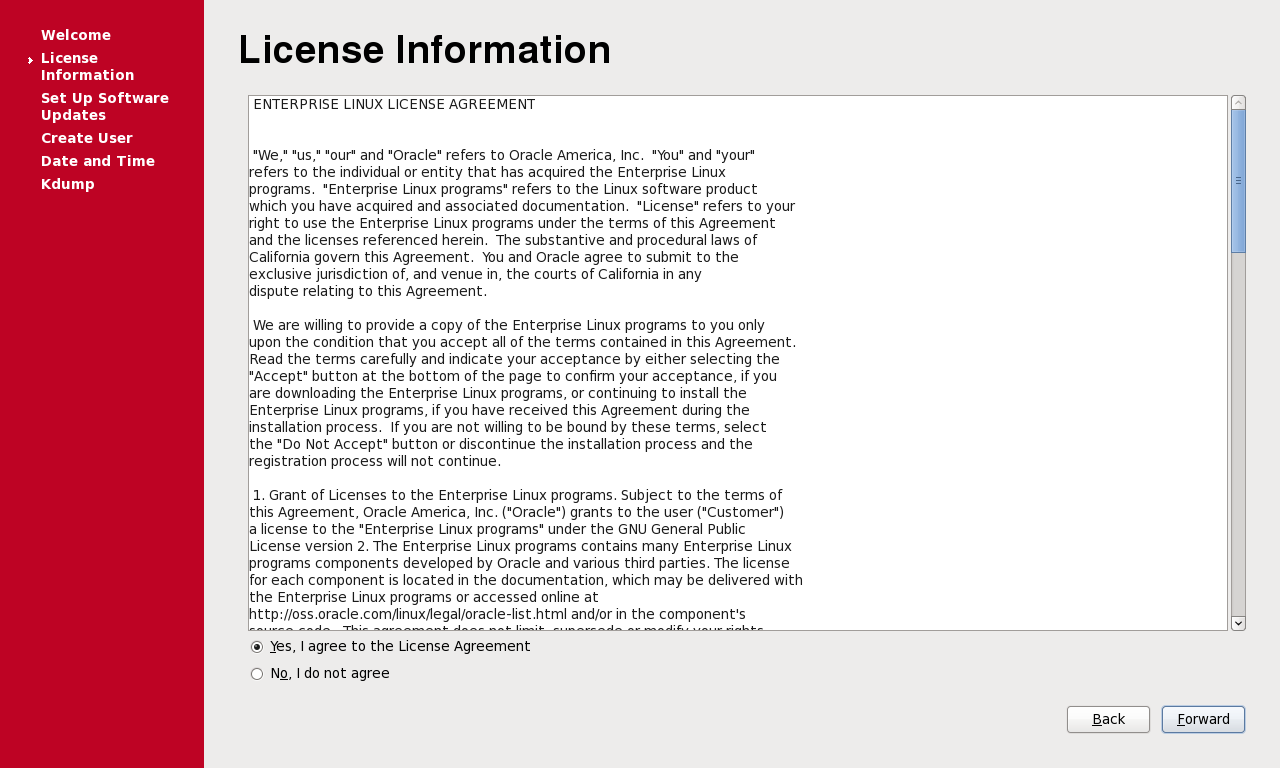
Accept the license agreement.
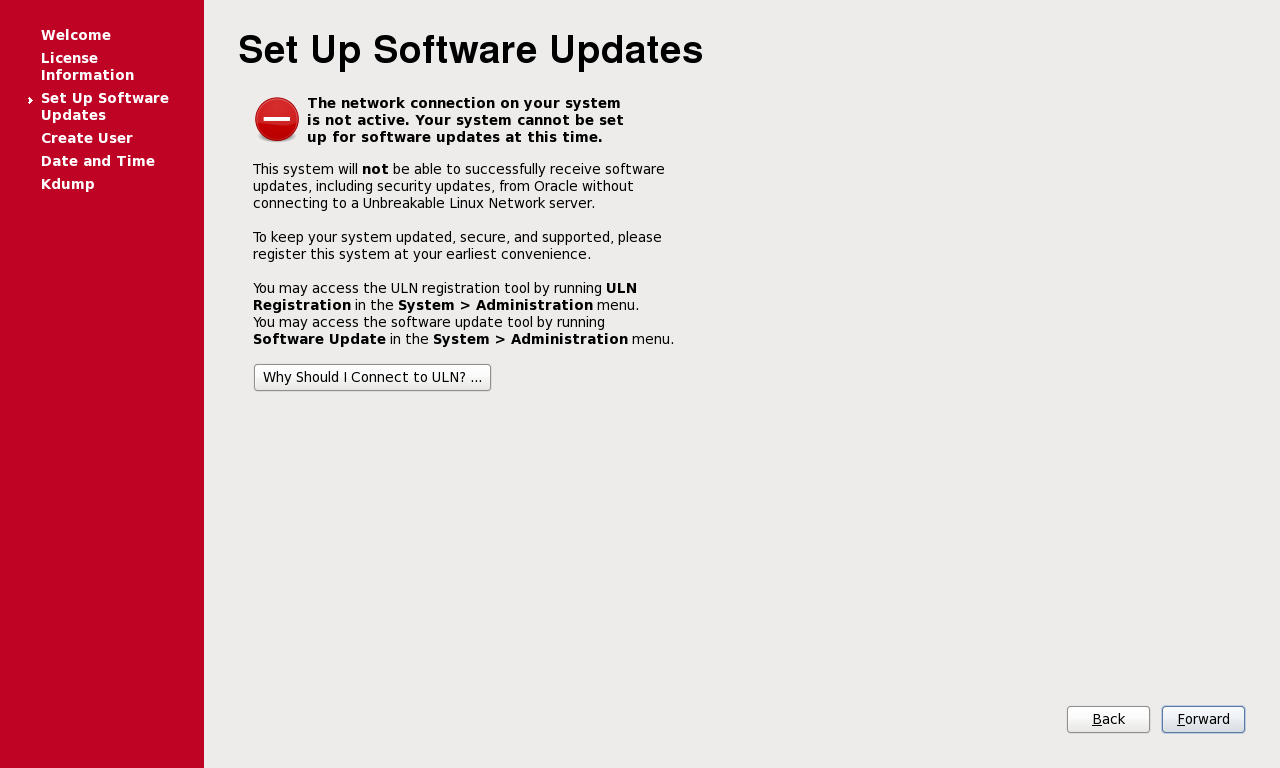
Skip the software updates for now. I'll do it later manually.
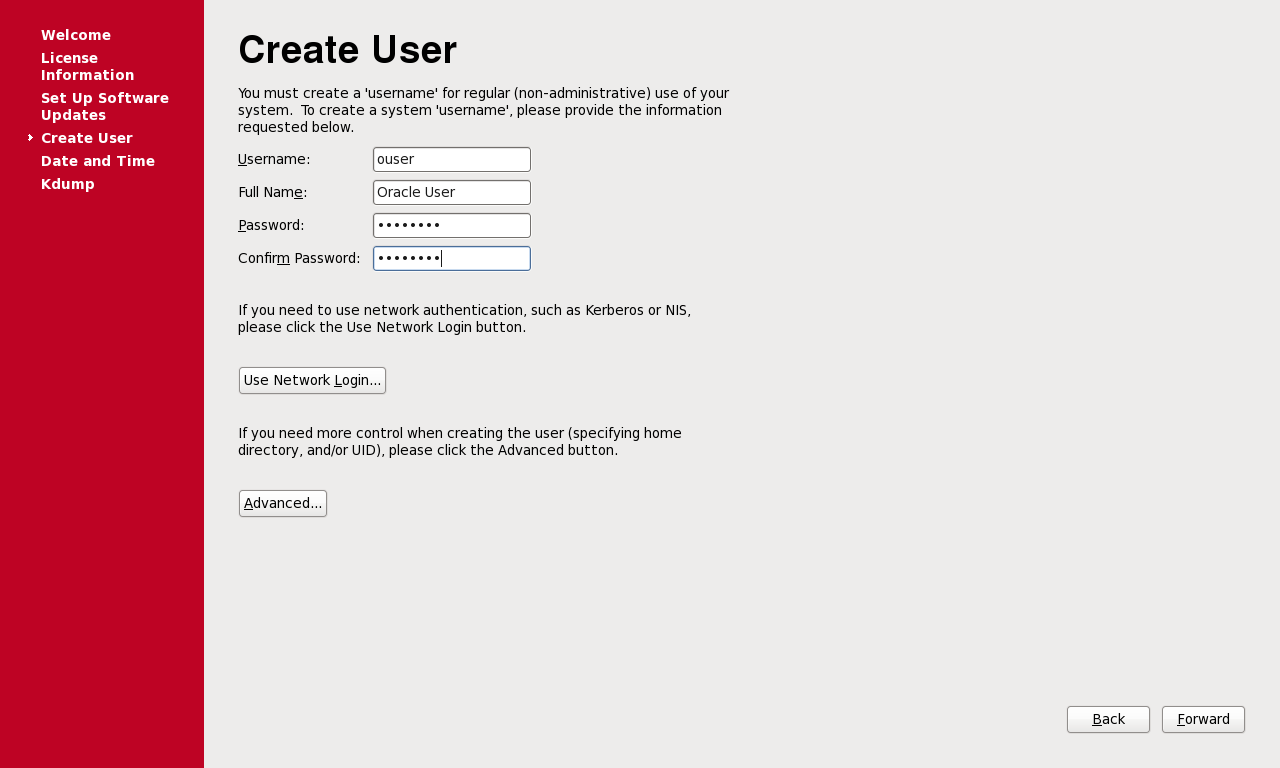
Create a normal linux user named "ouser" with a password.
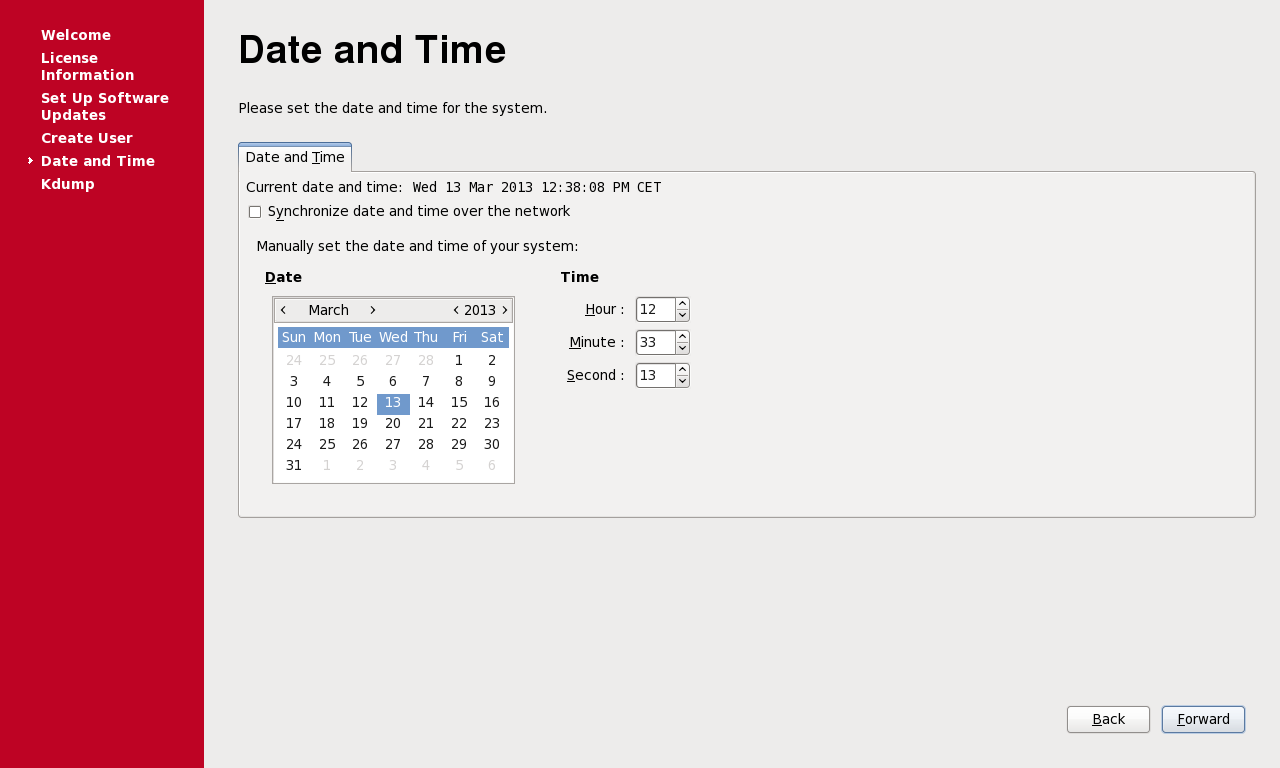
Set date and time.
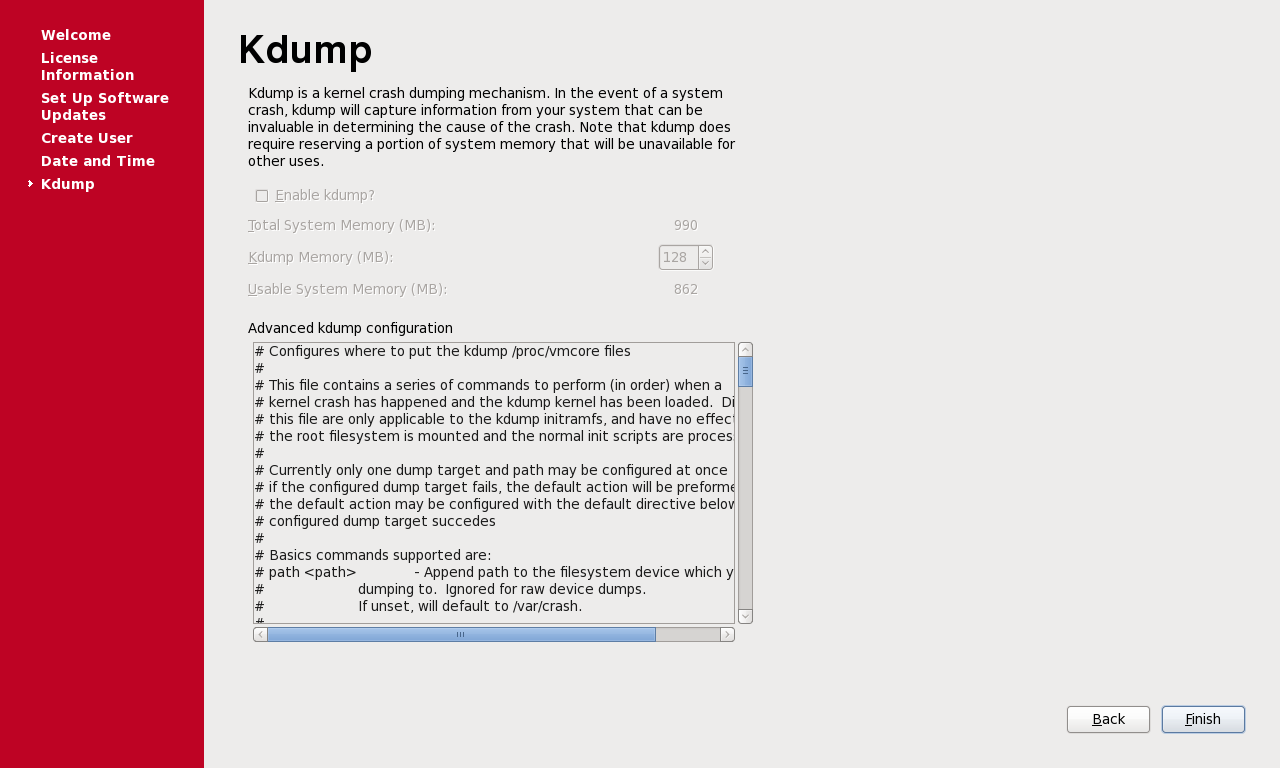
Click next to accept the KDUMP settings. Cannot change here now.
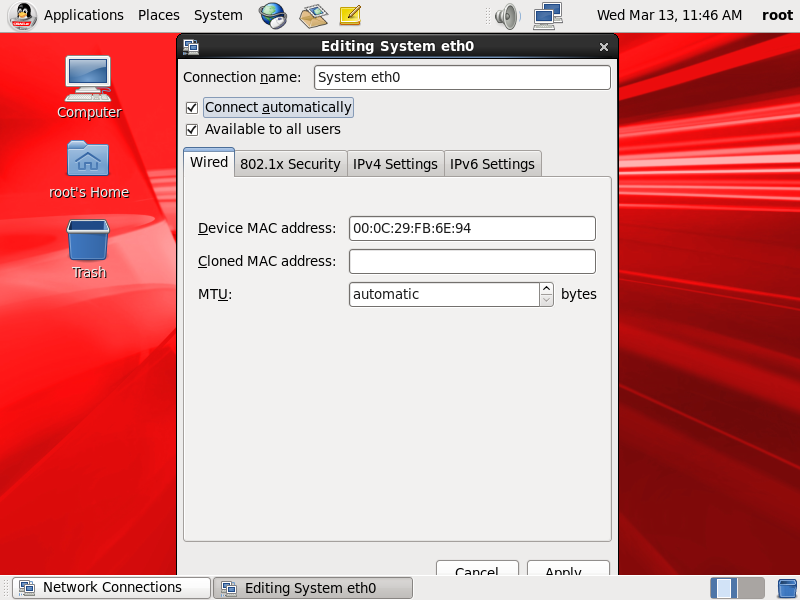
Check the ethernet 0 MAC address in the connections setup. Set the connect automatically flag, because it won't start by default if this is not set.
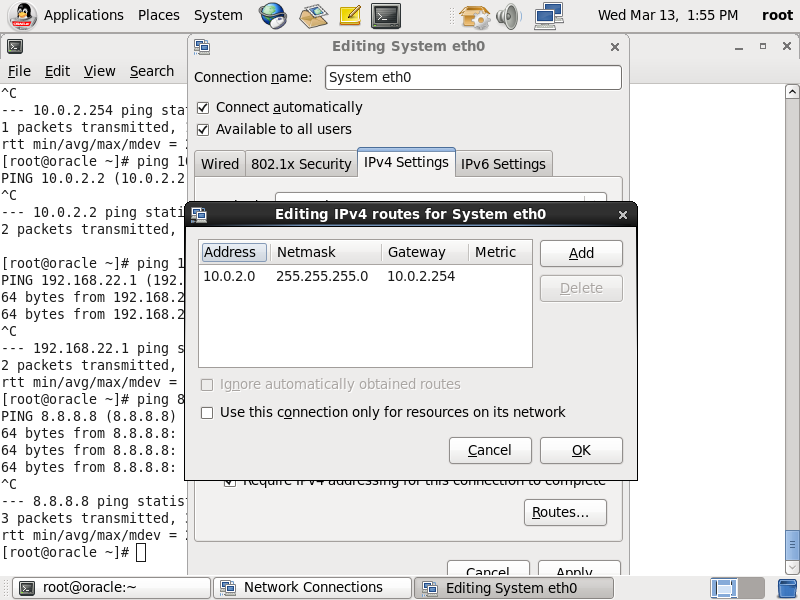
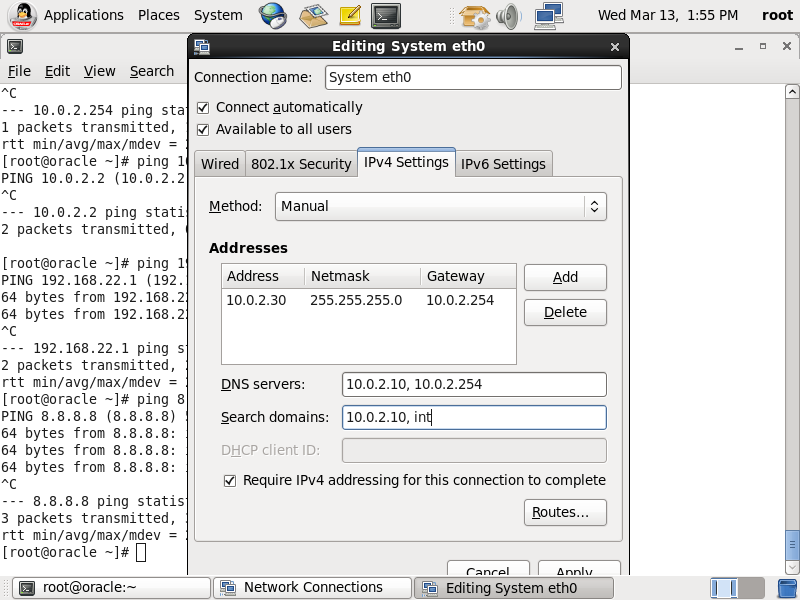
Set the IPv4 routing by setting the default gateway for the subnet 10.0.2.0/24 to 10.0.2.254.
Set DNS servers in the IPv4 settings as well if not set. DNS servers to 10.0.2.10, 10.0.2.254 and search domains to 10.0.2.10 and int.
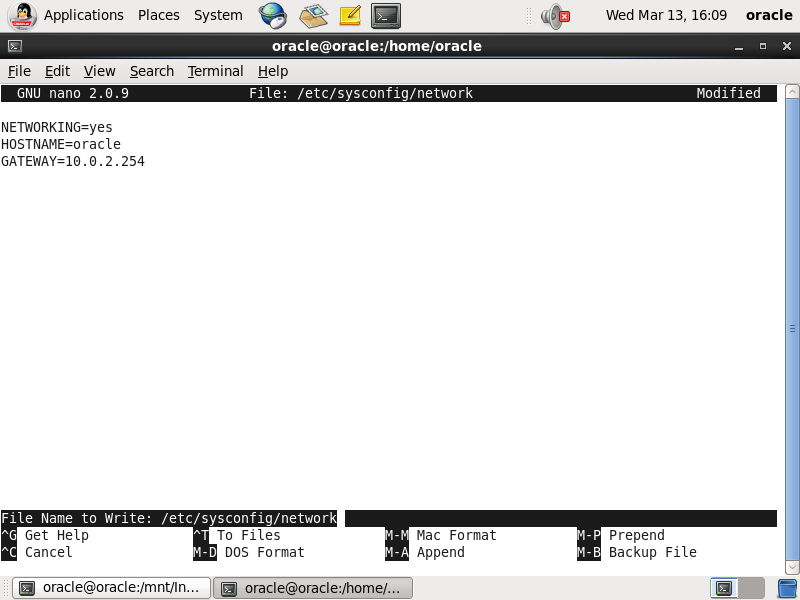
Set the /etc/sysconfig/network file contents as well. It should contain the following values: NETWORKING=yes; HOSTNAME=oracle;GATEWAY=10.0.2.254
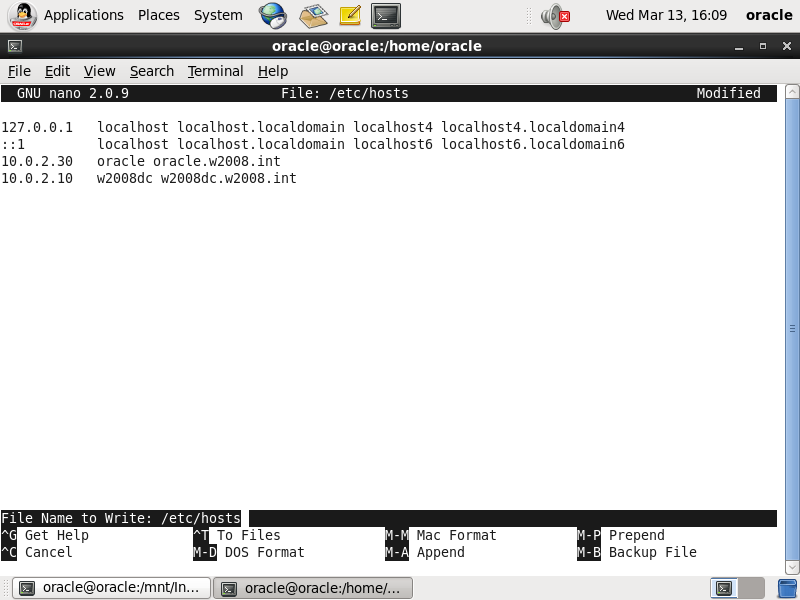
Set the /etc/hosts file contents. add the oracle linux and the domain controller lines:
10.0.2.30 oracle oracle.w2008.int
10.0.2.10 w2008 w2008dc.w2008.int
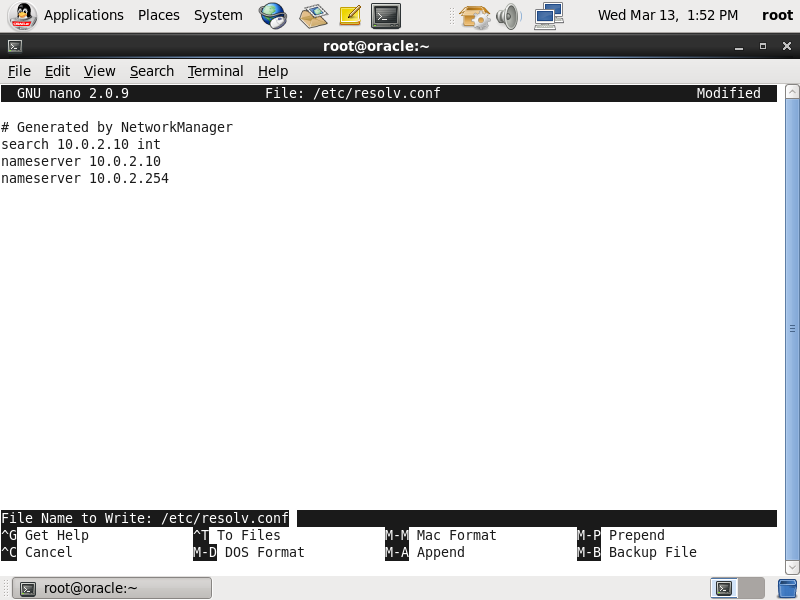
Check if the DNS settings are correct in the /etc/resolv.conf.
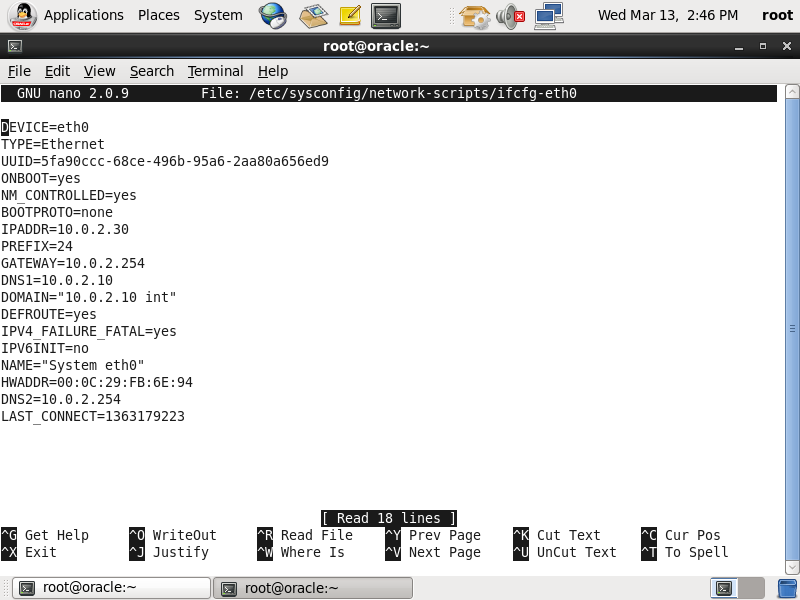
Check if the settings are correct in the interface files: /etc/sysconfig/network-scripts/ifcfg-eth0. It hsould reflect the settings set in the previous screenshots.
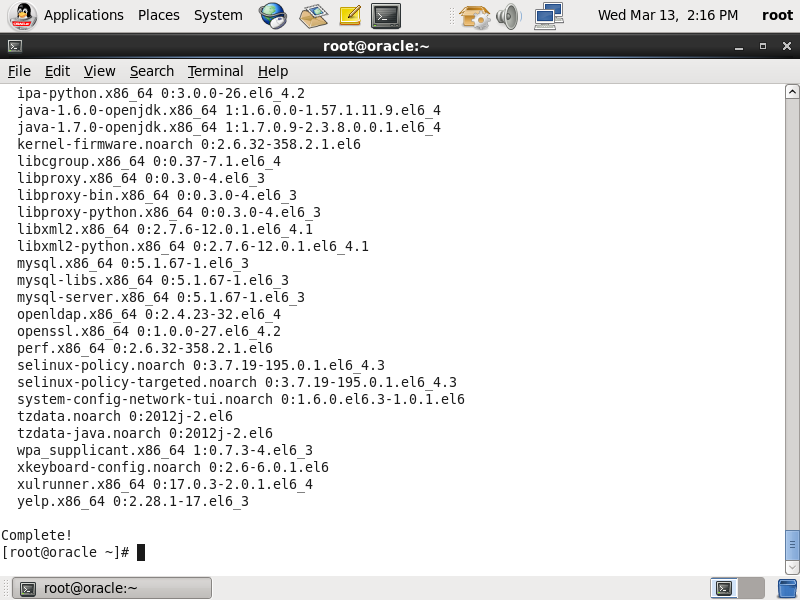
Update the linux packages by issuing the "yum update" command.
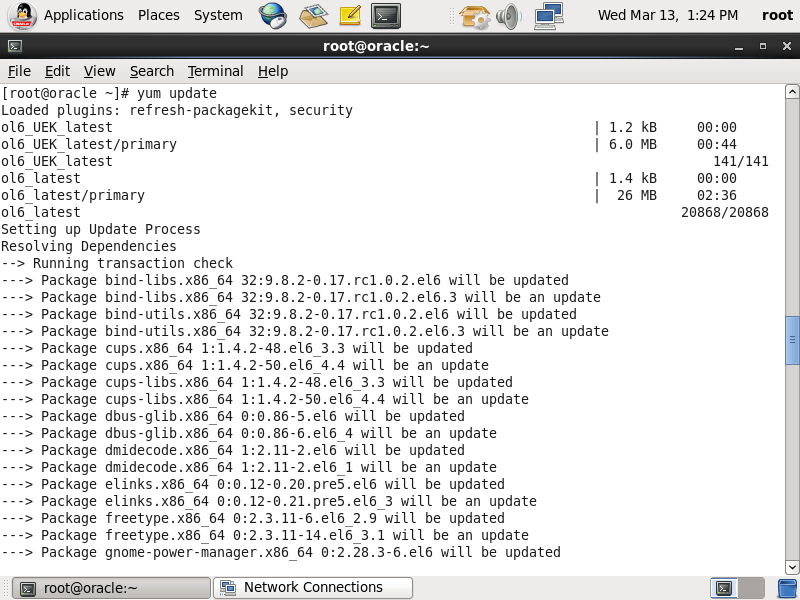
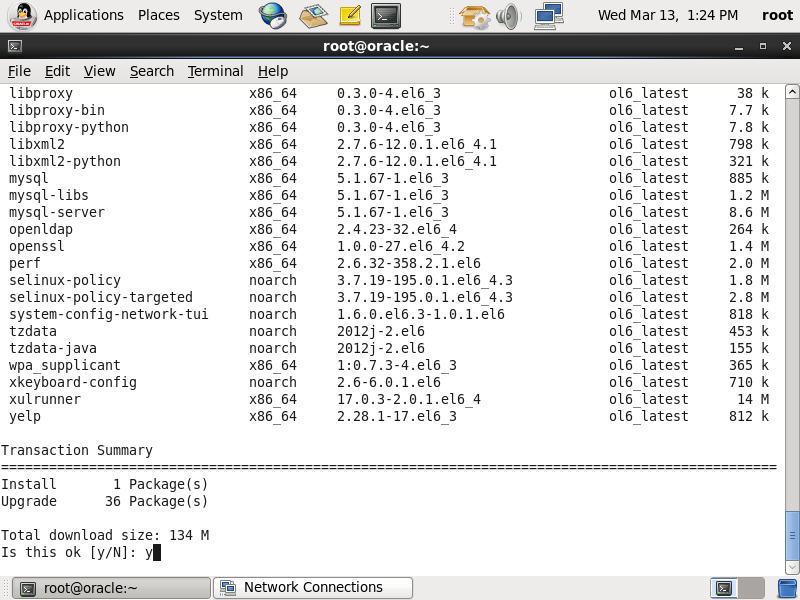
Accept the offered package install by pressing Y.
The update process is completed.