Create DHCP server - W2003
This tutorial is part of The LAB project.
After the successful DC install we have to create a DHCP server to serve other clients with dynamic or fixed IP.
DHCP service install
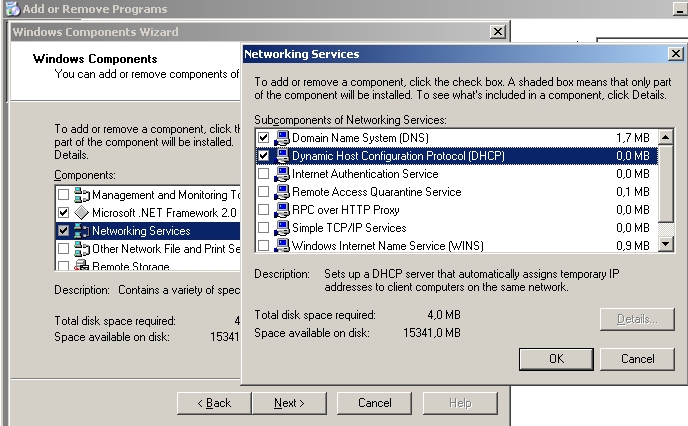
Click on "Start/Control Panel/Add remove programs/Add-remove windows components".
Choose "Network services" and click "Details". From the list select the checkbox "Dynamic Host Configuration Protocol (DHCP)" and click "OK" to install service.
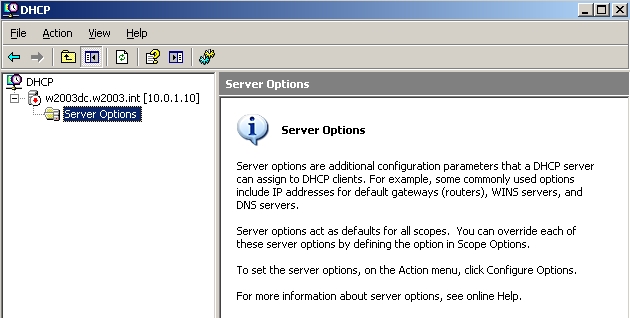
Click on "Start/Administrative Tools/DHCP" to configure the service.
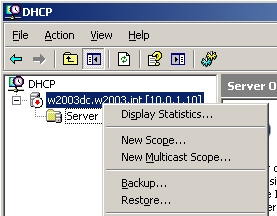
Right click on the w2003dc.w2003.int server and select "New Scope..." to start the new scope wizard.
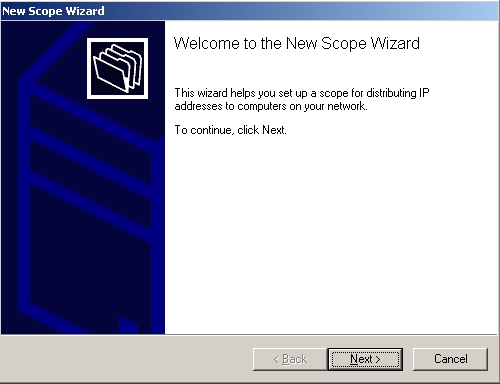
Click "Next" to continue.
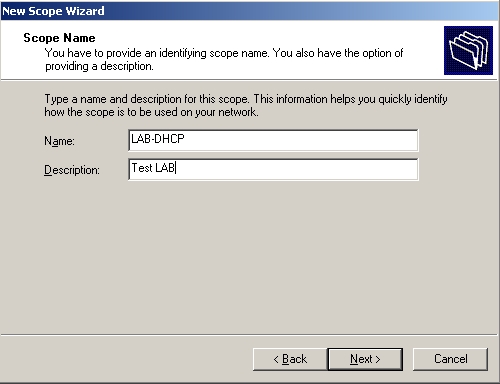
Select the scope name LAB-DHCP and add some description. These could be anything you prefer. Click "Next" to continue.
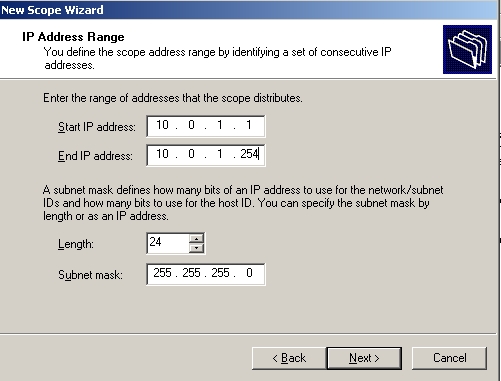
Define the IP range. In my case it will be 10.0.1.1/24. Click "Next" to continue.
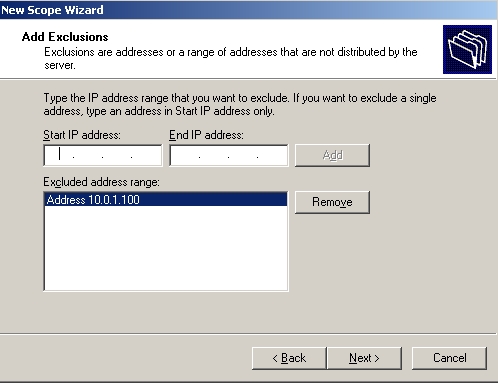
Select the IP addresses you do not want to dynamically assign to clients. These should be the default gateway, file server or anything else you want to assign a fixed IP on the host itself. In my case the gateway will be excluded, which is 10.0.1.100. Click "Next" to continue.
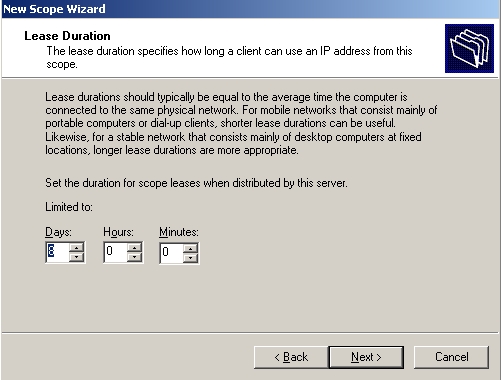
The lease time is the time interval for an IP address to be assigned to the same machine. Generally 8 days is ok. Click "Next" to continue.
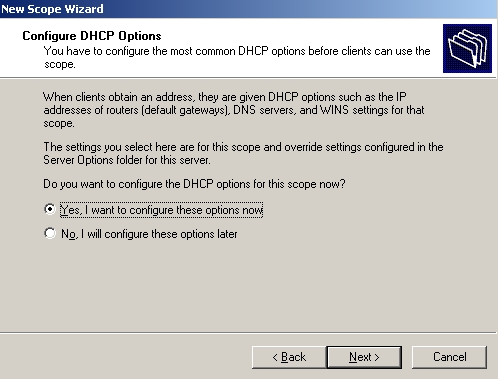
Configure DHCP options which are published to the clients. Choose to configure it now. Click "Next" to continue.
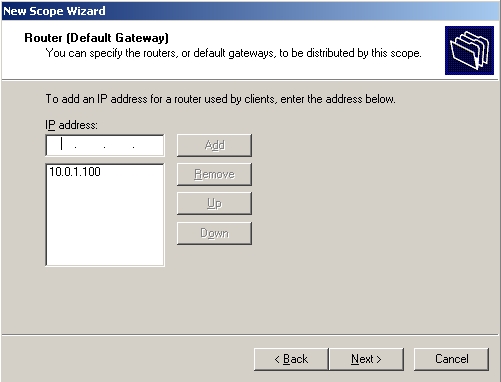
Choose the default gateway for the clients. In my case it will be 10.0.1.100. Click "Next" to continue.
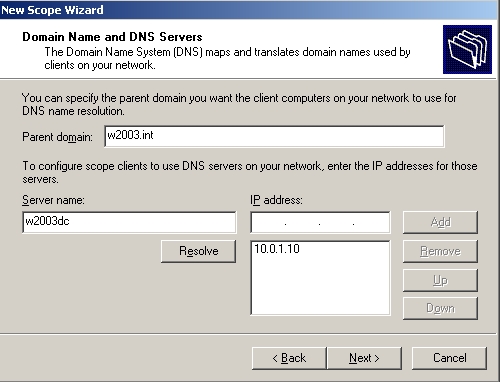
Select the DNS address for clients. The parent domain will be the domain controllers full dns name and the server will be the computer name of the DC. Click on "Resolve" to check the connection and it will automatically retrieve the IP address. Click on "Add" to add it to the list. Click "Next" to continue.
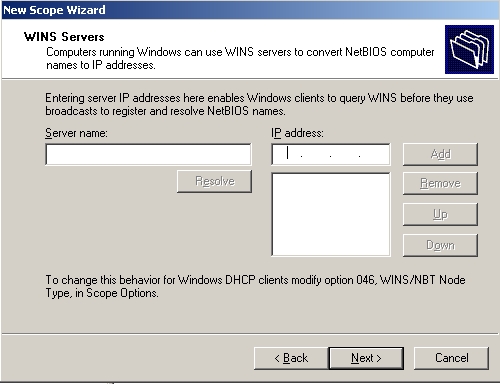
WINS server can be configured on the next screen for NETBIOS resolution. I don't need it, so I leave it blank. Click "Next" to continue.
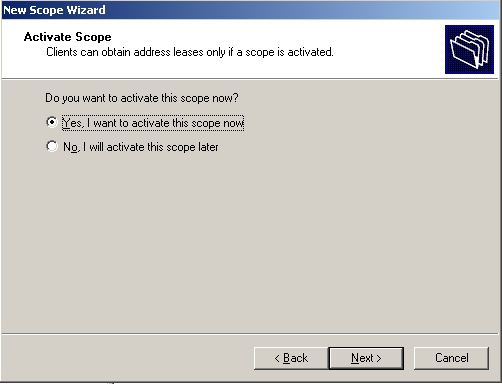
Choose "Yes, I want to activate this scope now" to activate the scope and click "Next" to continue.
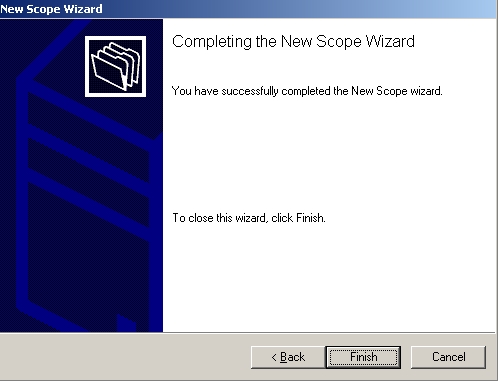
Click "Finish" to finish the setup.
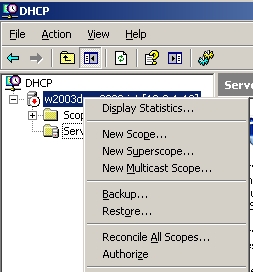
You see that the server is not working yet. It has to be authorized first. Right click on the DHCP server and choose "Authorize".
The server will be activated by this and a green arrow will appear insted of the red one.
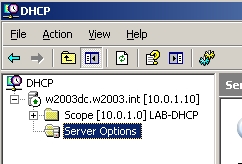
DHCP server successfuly installed.